
第一章 springboot入门
springboot能够便捷的创建spring项目,减少了很多配置。下面有两种创建方式。
1 | $ 官网上直接下载 |
可从springboot 官网下载设置自己需要的项目。
这里不再详细讲解。
1 | $ 本地创建mvn项目然后继承springboot项目即可。 |
首先得有个maven基础项目,可以直接使用Maven骨架工程生成Maven骨架Web项目,即man archetype:generate命令:
mvn archetype:generate -DgroupId=springboot -DartifactId=springboot-helloworld -DarchetypeArtifactId=maven-archetype-quickstart -DinteractiveMode=false配置pom
主要的代码就是继承springboot加入springboot依赖。
1 | <?xml version="1.0" encoding="UTF-8"?> |
springboot 第一个测试类
目录结构如下: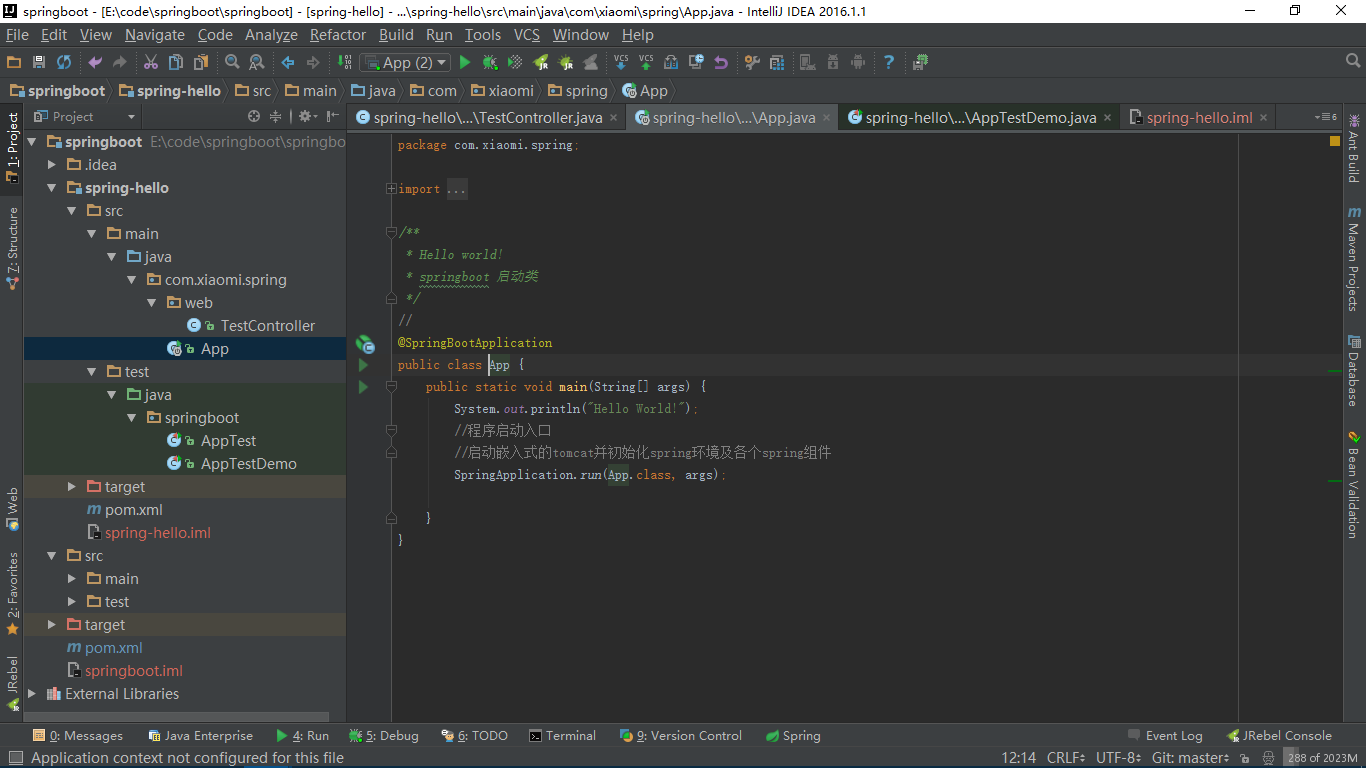
首先创建一个包,然后新建一个启动类。
1
2
3
4
5
6
7
8
9
10
11
12
13
14
15
16
17
18
19
20
21
package com.xiaomi.spring;
import org.springframework.boot.SpringApplication;
import org.springframework.boot.autoconfigure.SpringBootApplication;
/**
* Hello world!
* springboot 启动类
*/
//
@SpringBootApplication
public class App {
public static void main(String[] args) {
System.out.println("Hello World!");
//程序启动入口
//启动嵌入式的tomcat并初始化spring环境及各个spring组件
SpringApplication.run(App.class, args);
}
}这样运行这个类,我们的项目就运行起来了。
创建一个控制器来测试运行的结果。
1
2
3
4
5
6
7
8
9
10
11
12
13
14
15
16
package com.xiaomi.spring.web;

import org.springframework.web.bind.annotation.RequestMapping;
import org.springframework.web.bind.annotation.RestController;

/**
 * Created by xiaolai on 2017/10/23.
 */
@RestController
public class TestController {
    @RequestMapping(value = "/")
    public String test(){
        return "HelloWorld";
    }
}
特别注意 所有的控制器和服务层必须和运行主类在同一个包下,而且在主类的子包里面。